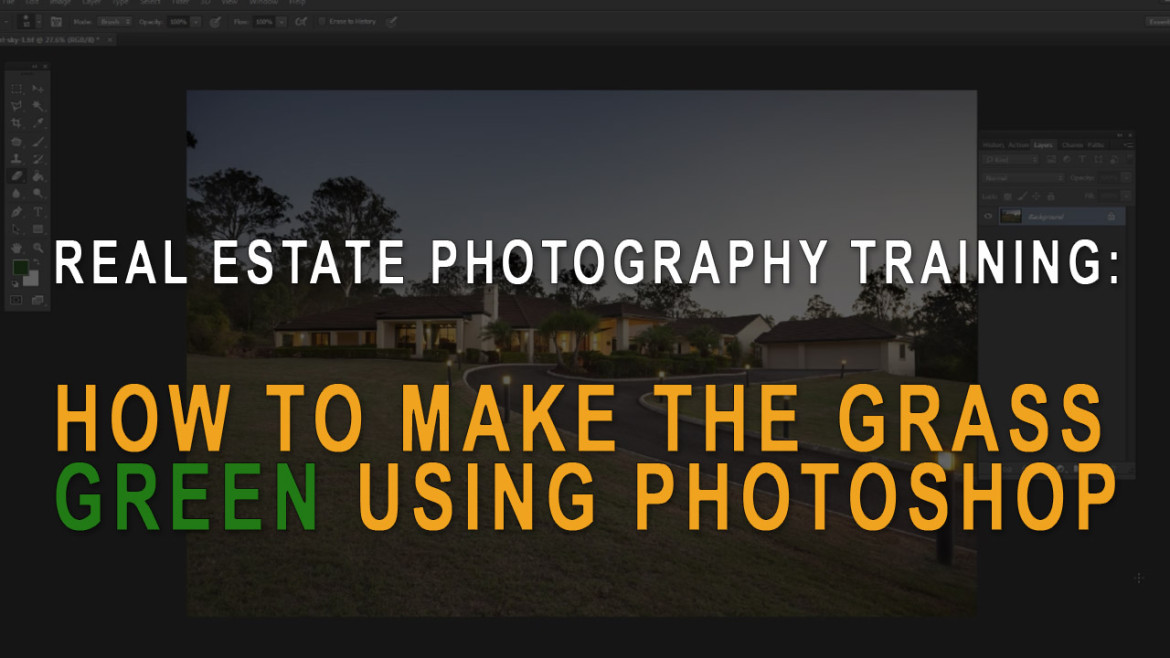
How do you make the grass green in Photoshop when you’re doing real estate photography (or any other kind of photography for that matter)?
This video will show you how easy it is, no matter how much experience you’ve had with Photoshop. Oh, and it works with any version of Photoshop, so you don’t even need the latest version of Photoshop CC.
- The first step is to create a new layer in Photoshop, and then set the layer blend mode to ‘Soft Light’.
- The second step is to choose a deep green paint color – you want it to be a darker green, not a bright green as that can look a bit weird.
- The third step is to start painting with your green paint on that ‘soft light’ layer just over your grass. This setting applies the color, but still allows the texture of the grass to show through underneath and that’s important.
- Once you have finished painting, grab the Eraser tool in Photoshop and just erase any areas where you painted in places that you don’t want to be green. For example, you might have painted over some rocks or a path, so carefully look around for any areas that don’t look right.
- The fifth step is not essential, but it can help. On the green grass layer, open up the levels (Ctrl + L), and drag the point on the far right hand side a little to the left. This will have the effect of brightening the grass layer so it’s not too heavy.
- Next you want to adjust the opacity of that grass layer to suit. Often 100% opacity will be too strong, so try dragging it down to about 70% and see how it looks.
- Now flatten the Photoshop document, and you’re all done!
So that’s one way to make the grass green in Photoshop when editing your real estate photos.
Note: Here’s the direct link to that YouTube video on how to make grass green with Photoshop – https://www.youtube.com/watch?v=EI4yzvbbbBM
