How do you remove rain from a photo using Photoshop?
Maybe you’re a real estate photographer or a commercial photographer, and you need to take an exterior photo of a building and on the day of the shoot it’s raining. Do you have to reschedule?
Perhaps, but not necessarily. In this video I’ll show you what you can do to remove all of those streaks of rain from your images using a simple Photoshop trick.
Instructions on how to remove rain from a photo:
Step 1. Take multiple exposures at a fast shutter speed.
I found it worked well to get my shutter speed above 1/1000th of a second. That means I needed a high ISO, so you’ll want to make sure your camera can cope with that, and doesn’t create too much noise with that high ISO.
How many exposures do you need? It probably depends on how heavy it is raining, and how much rain there is between you and the building or subject you are photographing. I found that 10 exposures worked well, but you could try less. Of course, you will also need to make sure you are shooting on a tripod, and that the tripod does not move, so be sure everything is locked and steady.
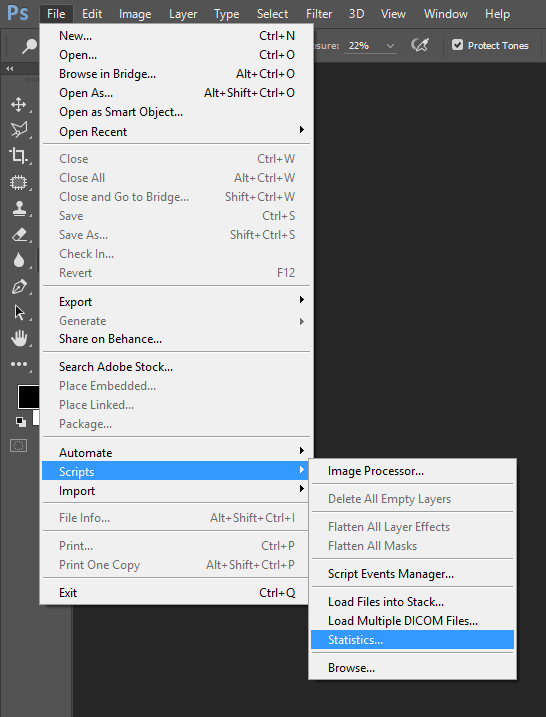
Step 2. Go to File -> Scripts -> Statistics.
This is the ‘Statistics’ tool you’ll use to stack the images:
Step 3. In the drop down box, select ‘Median’.
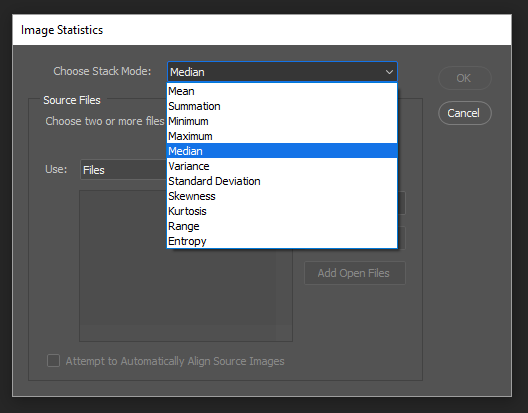
Step 4. Select all of the images in the set that you want to include.
You could also choose to leave a tick in the box for “Attempt to automatically align source images”, but this should not be necessary if your tripod was locked tight and didn’t move during the set of exposures.
Step 5. Click “OK’, and let Photoshop layer the images into a stack.

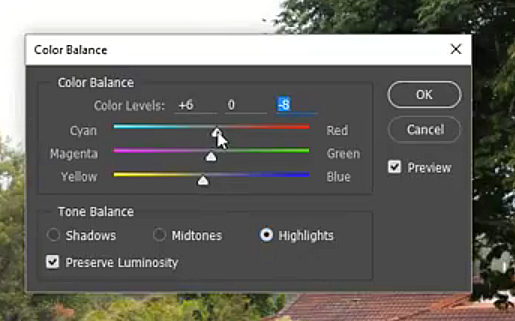
Step 6. Open up Color Balance, select Highlights, and increase the yellow and red levels to warm up the image.
The amount of adjustment you make will depend on various factors, so go with a value that works depending on the lighting and any adjustments that might have been made to the RAW file when you imported the image.
Step 7. Flatten the layers, and then duplicate the layer. Set the new top layer to ‘Overlay’.
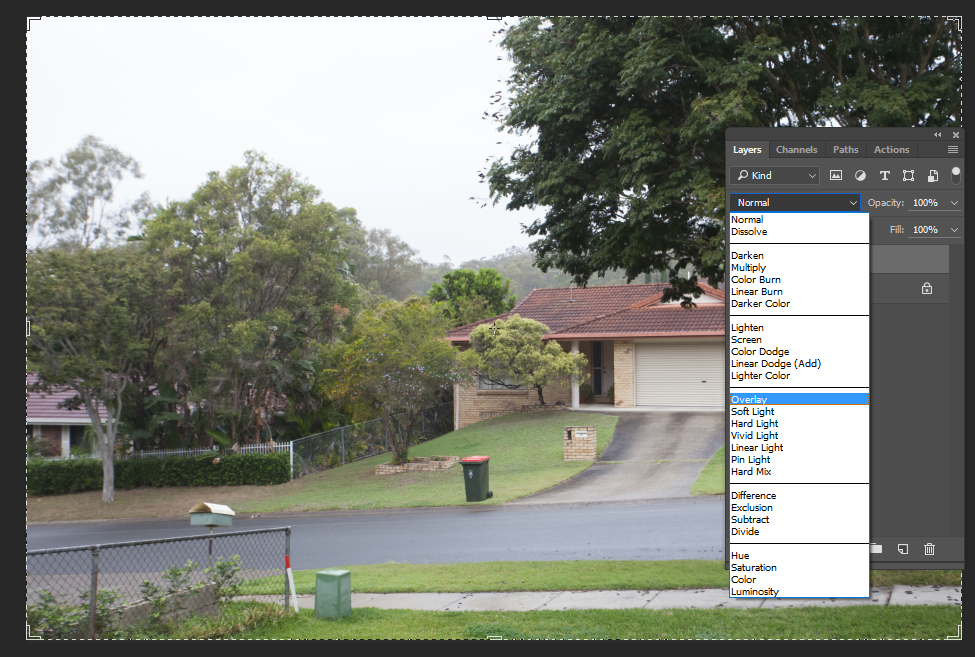
After you’ve changed the layer blend mode to “Overlay”, your photo should look a bit like this, with lots of contrast between shadows and highlights:
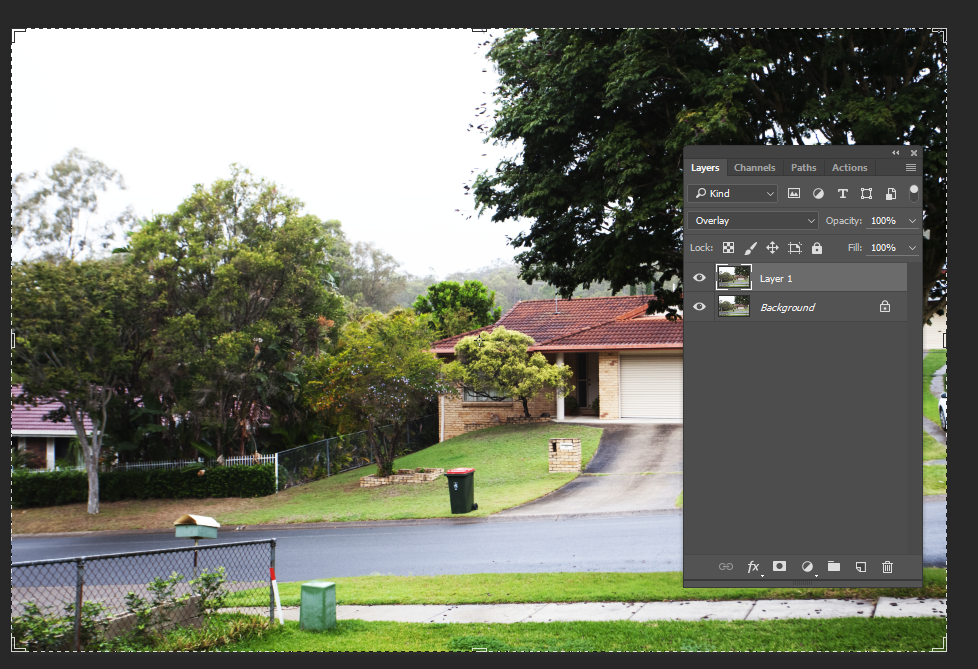
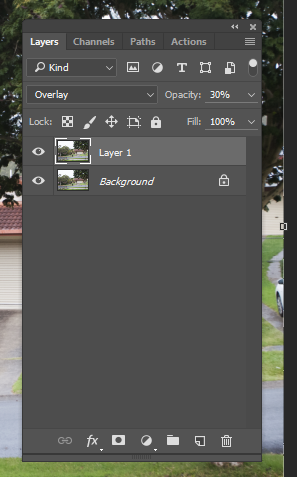
Since that is a bit too much contrast, you will probably want to lower the opacity of that top layer:
Step 8. Flatten the layers, select all of the image and copy it (Ctrl + C on a Windows machine or Cmd + C on a Mac).
What we want to do here is have the original version of the photo to sit on top after making another step, so there’s no need to paste it anywhere just yet.
Step 9. Use the Dehaze filter in Camera Raw to remove the hazy effects of the rain from the background (if needed).
In my photo I could see some hills behind the house, and the rain was making them look very hazy. To remove that, we can use the Dehaze filter in Camera Raw.
- Right click on the layer, and select ‘Convert to Smart Object’:
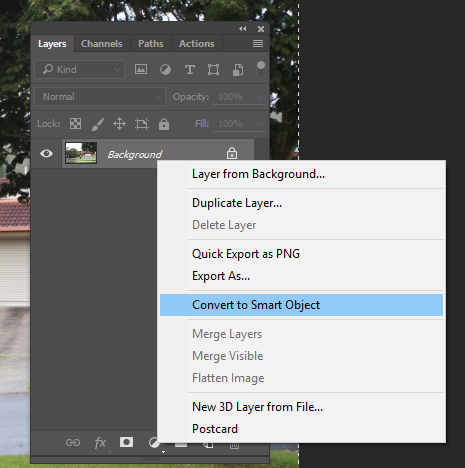
- Select “Camera Raw Filter”:
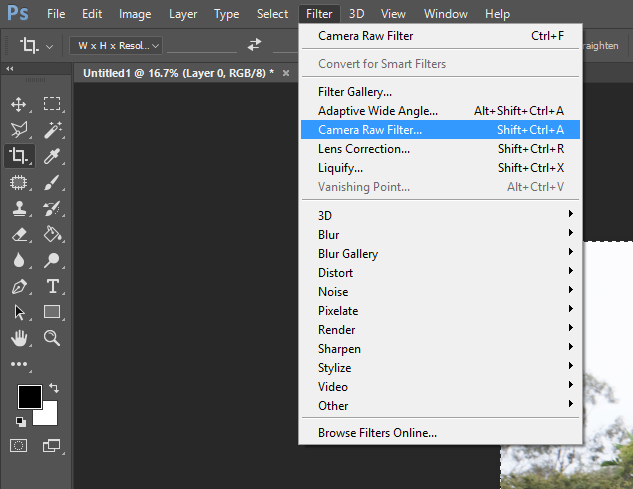
- Select FX for filters, then increase Dehaze. I took it all the way to +100 in my example:
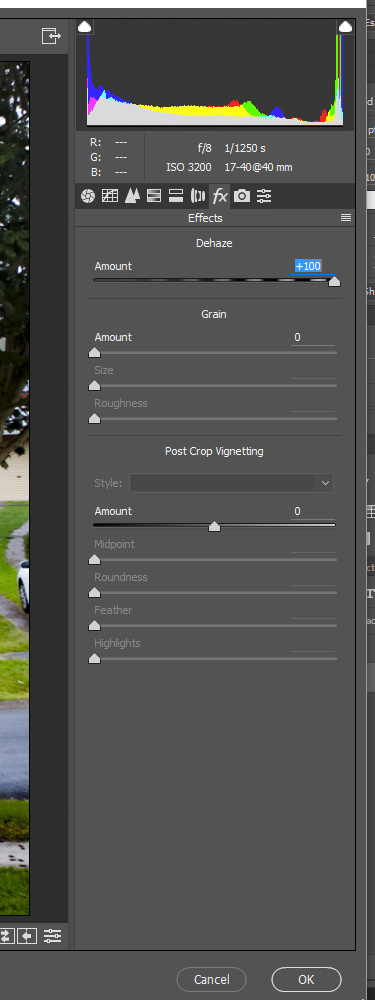
- Click OK.
Step 10. Paste the photo from Step 8 on top of the Dehazed layer.
So all you should need to do is go to Edit -> Paste, or Ctrl+V on a PC. You’ll now have two layers.
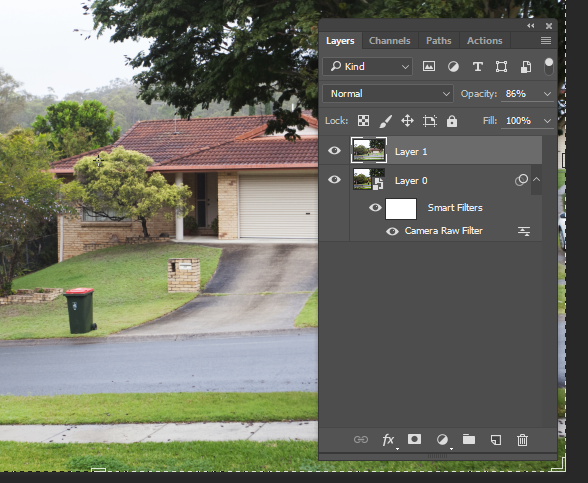
Step 11. Drop the opacity on that top layer until it looks about right.
I lowered the opacity in my example to about 86%:
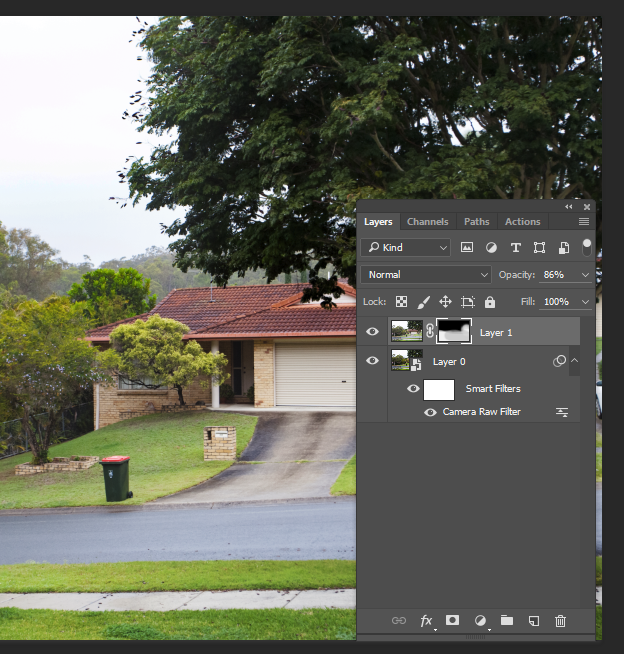
Step 12. Add a layer mask to the top layer, paint it all black, then apply some white paint over the areas where you don’t want the Dehaze layer to show.
You may find it helpful to drop the opacity of the white paint brush to something closer to 50%:
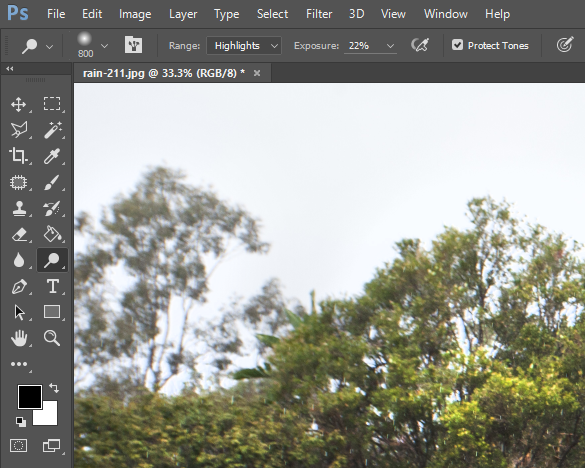
Step 13. Select the Dodge tool, lower the Exposure level down to 15-25%, and brush over the highlight sections in the image.
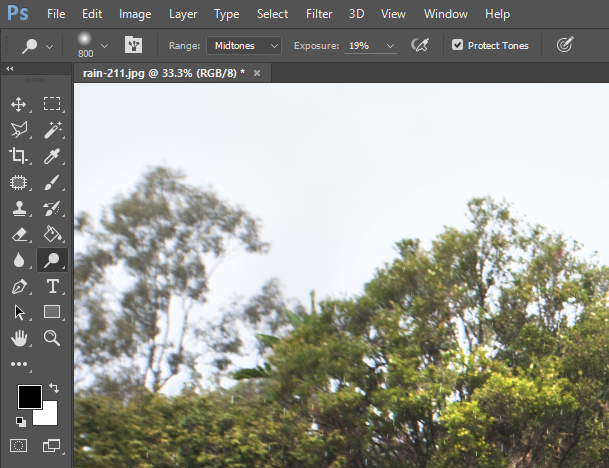
Step 14. Select the Dodge tool, lower the Exposure level down to 15-25%, and brush over some of the midtone sections in the image.
Step 15. Add a new sky using your preferred sky replacement method.
I’ve spoken previously about how I add a new sky to an image. I have a technique using Photoshop’s Select and Mask tool, and also this video from my Facebook Page where I describe a Photoshop action I’ve created:
You can access this Photoshop action by signing up for my free video training series on real estate photography. Visit: http://realestatephotographysystem.com.
Conclusion:
So that’s one technique for dealing with shooting in the rain. Do you think that could work for you? Let me know what you think by leaving a comment below.
And if you give it a try please let me know if it worked for you – I’d love to see your feedback!
Also, check out the rest of the photography training videos on my YouTube Channel, and have a look at my Real Estate Photography System Facebook Page: